
Here’s a fact that surprises most homeowners: the majority of roof leaks don’t start with shingles. They start with flashing.
Flashing is the thin metal material — usually galvanized steel or aluminum — that seals the transition points on your roof. Anywhere the roofing surface meets a vertical structure (a chimney, a wall, a skylight, a vent pipe) or changes direction (valleys where two roof planes meet), flashing is doing the critical work of keeping water out.
When it fails, water finds its way in — often appearing as a stain on your ceiling far from where the actual entry point is. Homeowners spend months chasing the wrong spot. At AMPCo Construction, flashing inspection and repair is part of every roof job we do.
What Is Roof Flashing and Where Is It Located?
Flashing is installed at every vulnerable transition point on your roof. The main locations are:
Chimney Flashing
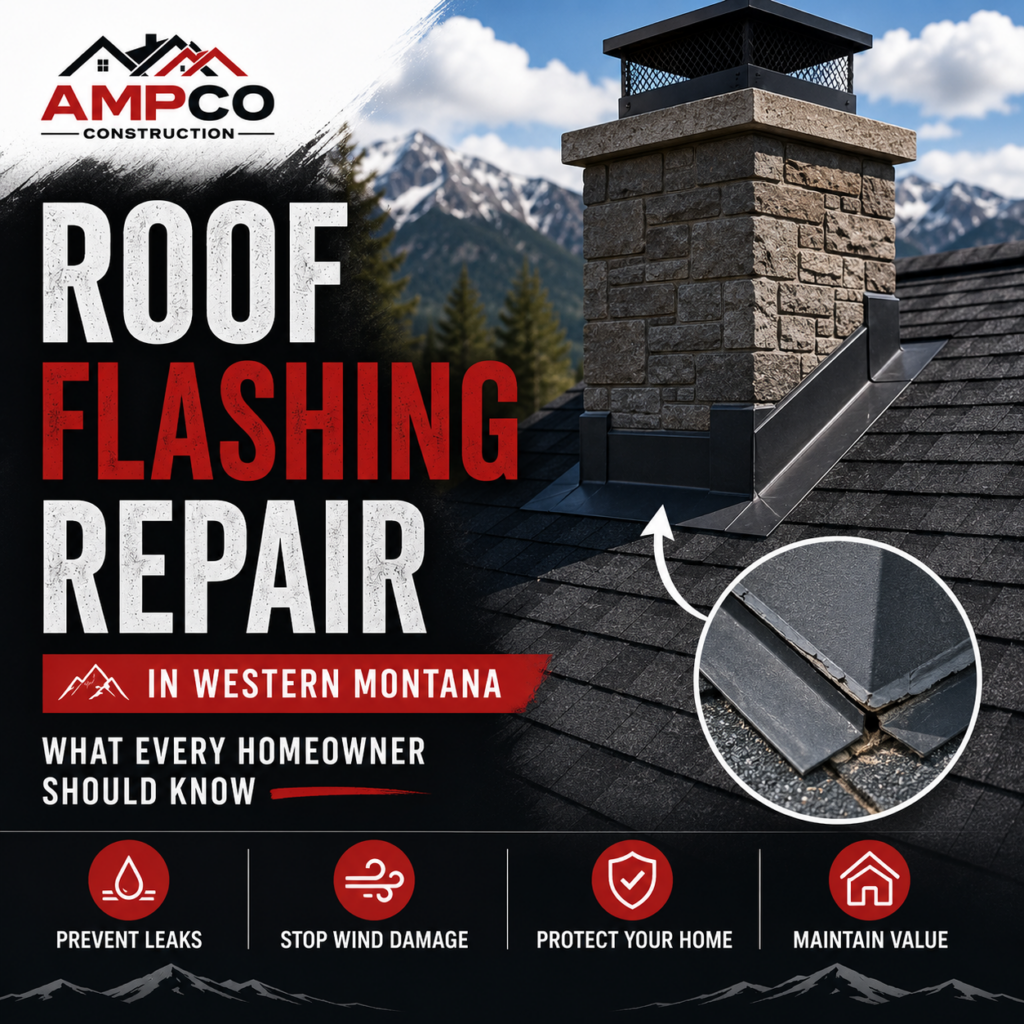
The most common failure point. Chimney flashing consists of two layers: base flashing that integrates with shingles at the sides, and counter flashing embedded into the chimney mortar above. When counter flashing pulls away from the mortar — or when caulk is used in place of proper step flashing and eventually cracks — water runs straight down the inside of the chimney chase and into the ceiling below.
Valley Flashing
Where two roof planes meet at an angle, a valley is formed. Open valleys use exposed metal flashing to channel water off the roof. If the metal corrodes, gets punctured, or was improperly installed, the valley becomes a funnel directly into the decking.
Step Flashing
Used along walls — where a garage roof meets a house wall, or a dormer meets the main slope. Step flashing is installed in an L-shape, one piece per shingle course, so water running down the wall is directed outward over the shingles rather than under them.
Vent Pipe and Skylight Flashing
Every pipe or skylight that penetrates your roof is a potential entry point. Vent pipe flashing uses a rubber boot over a metal flange. Over time, the rubber dries and cracks — especially in Montana’s climate, where UV exposure and freeze-thaw cycling are severe.
Why Flashing Fails in Western Montana
Thermal expansion and contraction. Metal expands in summer heat and contracts in winter cold. Over years of cycling, this movement loosens fasteners, cracks sealants, and pulls flashing away from the surfaces it’s supposed to seal.
Ice dam pressure. When ice builds up along the eaves and backs up under the roof edge, it pushes into valley flashings and against step flashing — working water under metal that was properly installed but not built for that kind of upward pressure.
Age and oxidation. Galvanized steel flashing has a zinc coating that protects against rust, but it doesn’t last forever. On a 20+ year old roof, original flashing may have oxidized through entirely.
Poor original installation. More common than anyone likes to admit. Many roofs are installed with caulk substituted for proper flashing at transition areas. Caulk fails. Properly integrated metal flashing doesn’t.
How to Tell If Your Flashing Is Failing
- Ceiling stains near a chimney, skylight, or exterior wall — these trace back to flashing more often than shingles
- Discoloration on interior walls below a roof-to-wall transition point
- Visible rust streaking on exterior siding below a valley or chimney
- Missing or lifted caulk around the chimney base visible from the ground
- A musty smell in the attic without an obvious source — can indicate slow moisture infiltration through failed flashing
Can Flashing Be Repaired, or Does It Need to Be Replaced?
Isolated caulk failure around a vent boot or minor chimney gap can often be addressed with a proper sealant repair — though it’s a temporary fix, not a permanent one.
Corroded, cracked, or improperly installed flashing needs to be replaced with new metal material. This requires lifting surrounding shingles to properly integrate the new flashing into the roof system.
Full re-roofing is the right time to replace all flashing — and it’s included in every AMPCo roof replacement. Leaving old flashing in place under new shingles is a common shortcut that leads to leaks within a few years.
What AMPCo Does Differently With Flashing
We don’t use caulk as a substitute for flashing. We don’t reuse old metal when we’re replacing a roof. On every job, we:
- Remove existing chimney counter flashing and re-embed new flashing into fresh mortar
- Install proper step flashing — not fabric or butyl tape — at every roof-to-wall transition
- Replace all vent pipe boots with new rubber/EPDM boots sized to the pipe
- Use metal valley flashing in all valley locations before shingles are installed
- Inspect and replace any decking that shows moisture damage from previous flashing failure
It’s the difference between a roof that holds up for 20+ years and one that leaks at year 5.
Schedule a Free Flashing Inspection
If you’ve been dealing with a roof leak that nobody seems able to solve — or if you’ve never had your flashing inspected — AMPCo Construction serves all of Western Montana and offers free roof inspections that include a full flashing evaluation.
We serve Butte, Anaconda, Hamilton, Dillon, Stevensville, Deer Lodge, and surrounding communities. Find out more about our roofing services or call us directly at (406) 310-1077.